Tuesday

New Years Free Printable Banner

A fun and festive free printable banner for New Years!


The last one with out words can be printed a couple of times to go between each of the worded ones and on the ends.
To print: Click on each of the banners above to open in a new window, click again to make sure they are fully expanded. Then click on 'file' and 'print' from the menu at the top of the window. If you have any trouble try selecting the 'landscape' option or 'page set up' and customize before printing. You can also save the files to your computer and print as you normally would print a photo.

(Personal use only, and blogging uses are ok)


Sugared Orange Slices {Recipe}

Candied Fruits have long been a Christmas Tradition around the world.


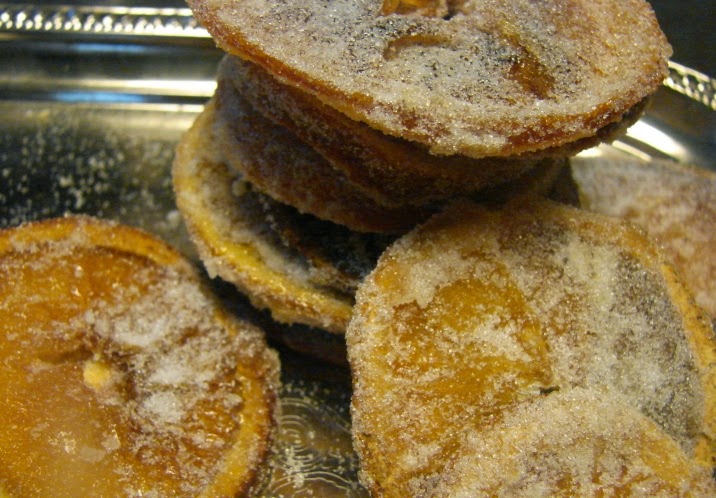
This year I set out to figure out how to make Sugared Orange Slices.

And it was no small task!
If these are cooked too long they burn, and if they do not get dry enough they are too acidic to eat, but when you get them just right, they are truly a Christmas delight.
First prep the oven. Place your top rack on the second slot from the top. (i.e.., the slot between the top and middle ones). And preheat the oven to 275 degrees F.

Slice 2-3 oranges so you have about 9 rounds from a softball size orange.


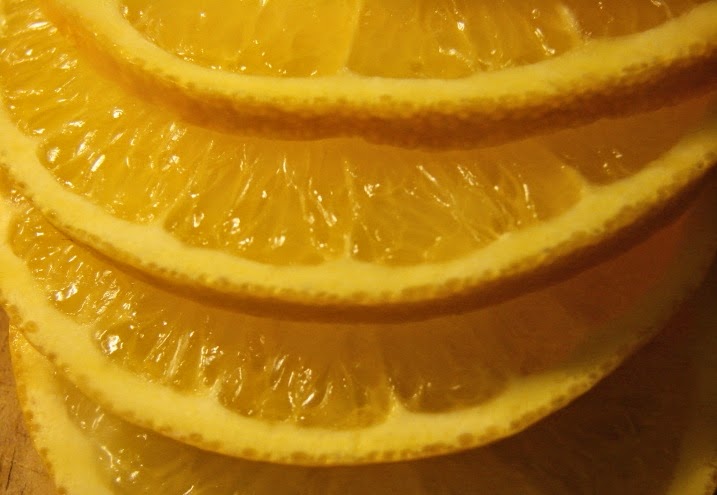
Lay them in a single layer on a baking sheet and place in oven.

Sugared Orange Slice Recipe:
Baking time 2.5 hours
(Note it is important to follow this recipe exactly)
After the oven is preheated and rack moved to the slot just under the top slot:
1. Bake at 275 (F) for 45 minutes. (I set a timer to make sure I did not over cook them).
2. After 45 minutes turn orange slices over and return to oven for another 45 minutes.
If your orange slices start to brown in either of these first two steps turn your heat down 25 degrees, use a higher rack in the oven and reduce cooking time in the next steps.
3. Remove oranges from oven, let cool to the touch, and then coat them on both sides with sugar and return to pan.
4.Bake for an additional 30 minutes.
5.Remove from oven allow to cool to touch. Coat both sides again with sugar and place them back in the pan. Set any that have started to brown and have skins that have dried completely on a separate plate. Most should still be orange and not yet browned.
6. Return pan to oven and cook for an additional 20-30 minutes.
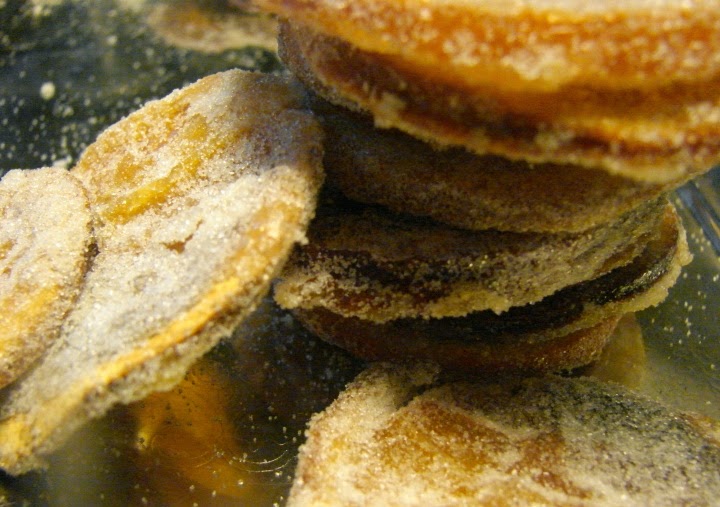
7. Remove from oven when they are browned and the sugar is slightly 'bubbly'. They are done when the skins are dry, making a cracking sound when you break them, and are dry in the middle.
8. Let cool to the touch, then coat them again with sugar and leave them on a separate plate to cool completely.


(Copyright A Holiday Haven 2010, although you are welcome to share this recipe in its entirety, to include photos, provided a clear link and credit is provided back to this site.)


Monday

Rose gift toppers from ribbon

Adding beauty to Christmas gifts simply.


I started with an old piece of wrinkled scrap ribbon.

Twisted an end and rolled it up to form the center of the rose.


Continued to twist the ribbon and wrap it around the center adding just a small spots of hot glue to the sides here and there. 
Tucked the end under the rose. Added a bit of hot glue the underside of the rose to secure it.  
These can be made from almost any kind of ribbon, sheers or solids, wired or non-wired, thin or wide. Ribbon with edging is nice as it defines the petals. 

These pretty little rose ribbons would work for weddings, and any other beautiful gift giving occasion.


Hot glue directly to gift. You can add additional ribbon, leaves, or small ornaments.


Thursday

Pumpkins from twigs {Tutorial}

Inspired by all of the twig pumpkins I have seen in stores lately I set out to see if I could make one. It was harder than I imagined but through a little trial and error here is what I came up with:


Gather branches, ones that have a lot of branching to them will do the best. 

For a small pumpkin you want about 6'' branches for a larger one about 12''. Take about 3 of them lay the stems even to each other and make a loop.

Secure the loop with craft or floral wire.

Make at least 6 of these per pumpkin. And it is important that they are all about the same size. Trim any branches that stick out.


Put all the loops back to back with the top stems sticking up in the middle and secure with wire.
Spread the loops out to help hide the wire in the middle.


Free Printable Autumn Banner

Fall is almost here so I created a fun free printable Fall Banner.


I printed them on scrapbook paper in "fallish" colors.

And they are pretty cute on plain white paper too.

Cut slightly larger backings from card stock using scrapbook edging scissors.

Just a drop of hot glue ate each of the corners to secure to backings.

And a thin bead of hot glue straight across the top to add ribbon.

And hung them from the cute cup hooks I have in my kitchen.


To Print:
To make your own (personal use only), click each of the photos below to expand them. And then click again on the expanded photo to magnify it. Then from the menu at the top of your browser select 'file', 'page setup', landscape and 'print'. If you have trouble, make sure you have fully magnified the photo and are printing as landscape. You can also try saving them to your paint program and then printing them or to your desk top and print as you normally would for a document or photo.

Happy creating!


Wedding Cake Topper From Fresh Flowers


Supplies needed: 1 dozen roses, wired ribbon, saran wrap or aluminum foil, scissors, 5inch floral foam or Styrofoam dome, cardboard, hot gluegun with glue.


1. Cover your cardboard with saranwrap or aluminum foil. It does not have to look perfect, this is just to create a base for your topper. It will be completely hidden.


Pull the wire on one side of the ribbon to create a ruffle.

Glue foam to cardboard.

Glue ruffle to cardboard around foam.

Cut flowers, and poke them into the foam. Start by placing your best flower in the top and then add the rest of the flowers in a circular pattern.


Do not worry about making mistakes, it is easy to re-arrange as you go.

To add leaves cut the stem above and blow the branch you wish to use. The leaf stems are not hard enough by themselves to poke into foam. Leaving some of the flower stem attached to the leaf stems will make it easier to add the leaves.
After adding leaves cut away any that stick out too far.

This topper fully covers the top of an 8'' cake. If your top cake is less than 8'' strait across you will want to start with a smaller floral foam. (i.e. 4'' foam for a 6'' cake). This topper can be used for bridal shower cakes, anniversaries, even birthday and baby shower cakes. The roses will keep for a couple of days in this arrangement (how long depends on how fresh they are to begin with). A day or two before the wedding is the best bet.  Storing them in a cool place and misting them with water will help to preserve them. 

Simple accents for crafts, bridal showers, baby showers, home, decor, or gifts:

Popular posts: